How to Install AAC Wall Panel?
Installation Guide for AAC Wall Panel in the Philippines
Installing Blocktec AAC (Autoclaved Aerated Concrete) Wall Panels is a straightforward process that, when done correctly, can significantly enhance the structural integrity, insulation, and overall efficiency of your building projects. Here’s a quick introduction to the proper installation process to ensure optimal performance and longevity of your AAC wall panels:
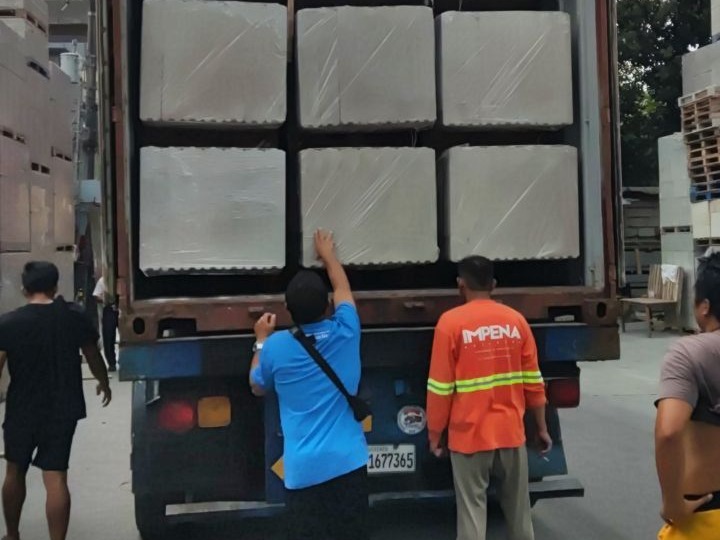
1. Receiving the Wall Panel
Receiving, inspecting and accepting products, checking production batch number, quantity and quality (warping, size error…)
Using crane or forklift to unload the panels to the staging area.
Keep the panels dry.Avoid exposure of the panels to rainstorm and flooding.
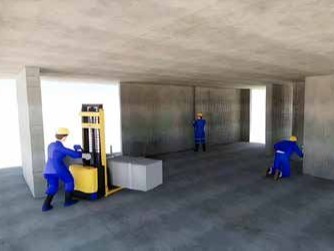
2. Locate
Clean the floor before using a chalk line marker.
Based on the plan, chalk mark the lines of the position of the panel
Use a laser to mark the boundary of
the wall on to the concrete soffit or ceiling.
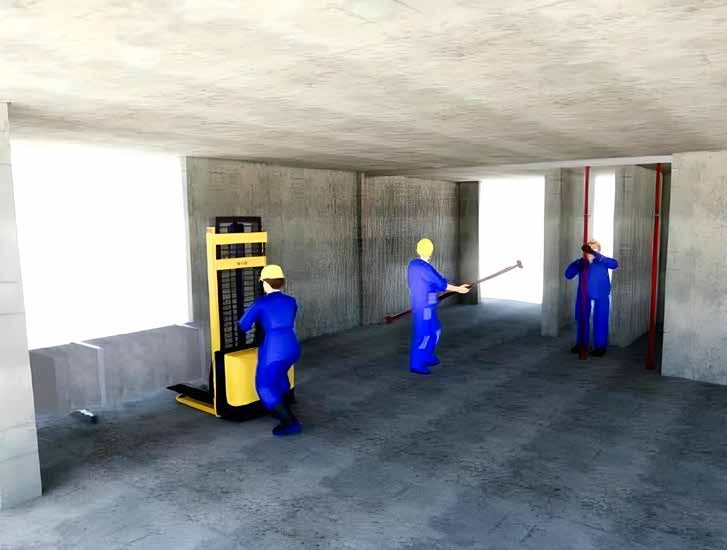
3. Install the locator
Set up a steel or wooden positioning frame according to the marked lines on the floor and the ceiling.
Clean the floor of the location to prepare for installation.
The supervisor is in charge of checking the accuracy and robustness of the positioning frame before installing the panels.
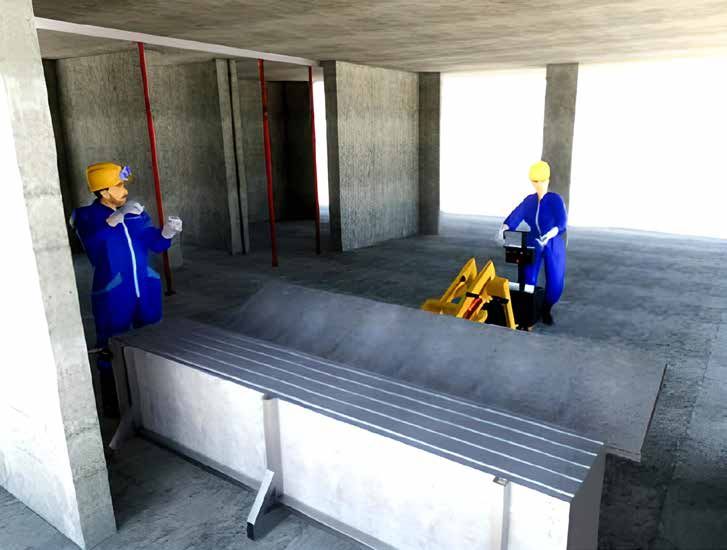
4. Prepare the Wall Panel
Install the support bracket, cut the panel belt.
Check the panels and classify them according to the position to be installed.
Unload the panels to be installed.
Panel cutting: Measure and cut panels at necessary positions (when cutting, always spray water to cool the sand and blade and reduce dust).

5. Transport panels to the location where it will be installed.
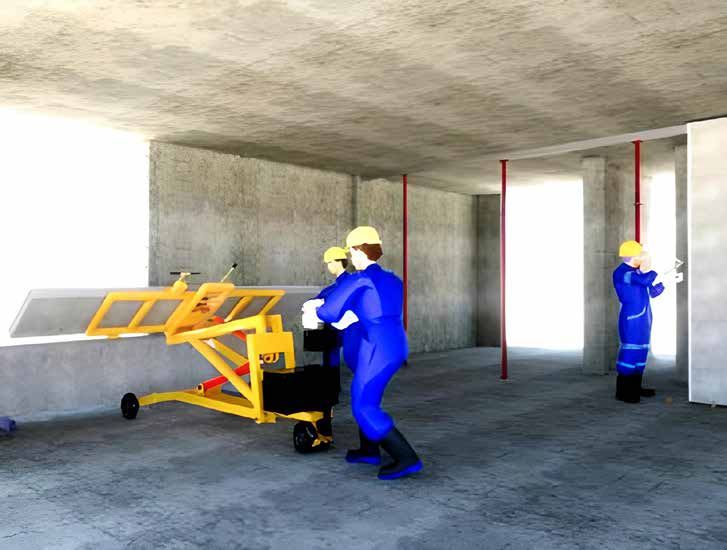
When transporting the panels, use the lever arm to place the panel on the installing vehicle and position if for installation.
Prepare to install the first AAC Wall panel: roughen the position of the concrete wall adjacent to the AAC Wall panel.
Nail the L bracket to the concrete wall according to the position where marked.
6. Install the AAC Panels.
Sweep or spray water to clean the wall area before installation.
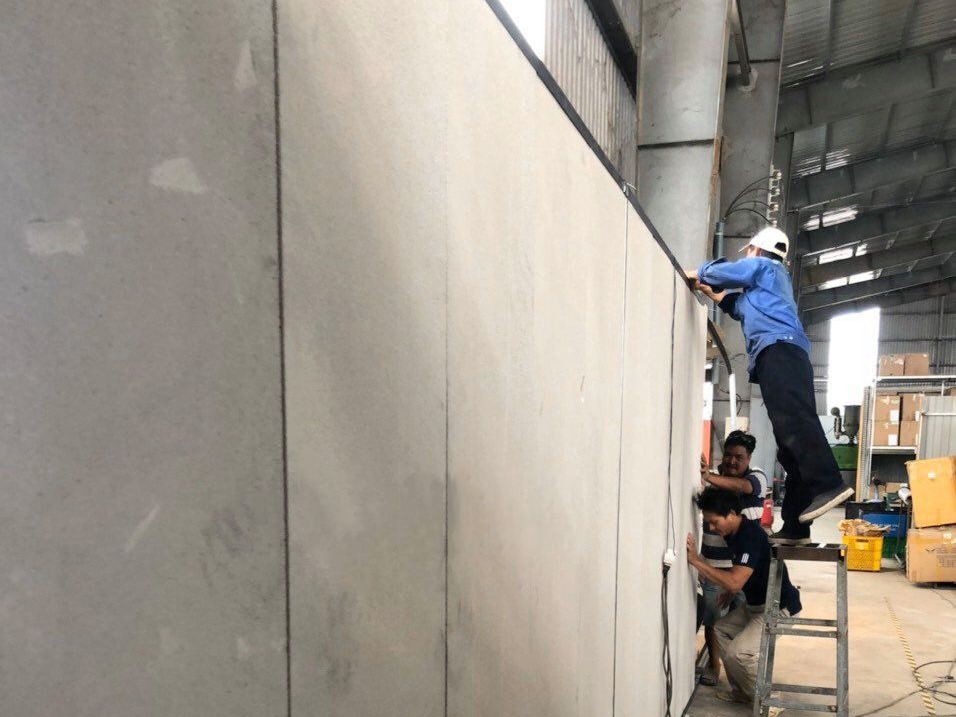
Position the AAC panels in place with an installing machine.
Apply a thin bed mortar to the connection between the AAC panels and walls.
7. Align the wall panel
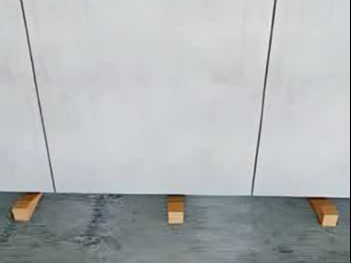
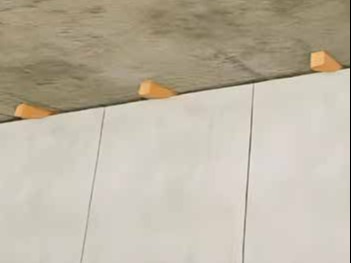
Use a wooden wedge to support the base to raise and align the panel to the right position.
Check the plumbness of the wall panels (using aluminum ruler, laser level…)
8. Fixed the wall panels
Use a wooden wedge to position the base and top of the wall.
After positioning, lock the wedge to fix laser position.
Use screws to fix the steel bracket to the floor and base of the wall.
9. Apply Thin Bed mortar
Use a brush, blower, or another suitable tool to remove any dirt and impurities remaining on the surface of the wall panels.
Apply thin-bed mortar to the tongue of the already installed panel.
Avoid applying mortar while the panel is lying down, as lifting the panel to an upright position can cause the mortar to fall off, resulting in a lack of mortar at the connection, which could lead to cracking.
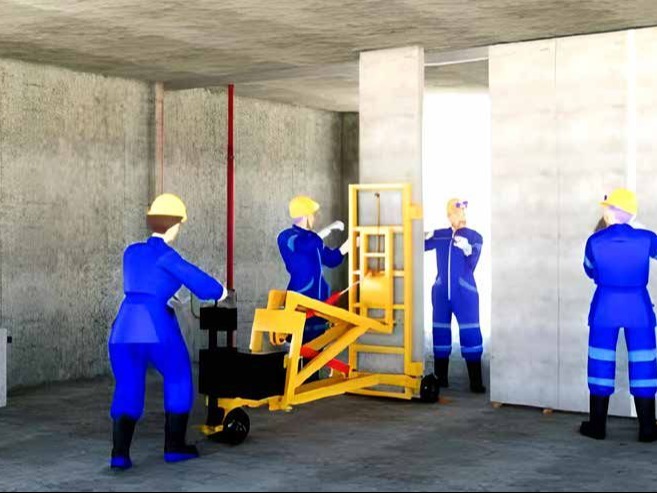
10. Installation of the next panels
Place the next steel plate for the wall panels.
Use the installation machine to install and fix the next wall panel in the same order as the first one.
Do not install wall panels smaller than 200mm.
Construct connections at the top of the wall panels with the upper floor beams and between the wall panels and the base of the wall.
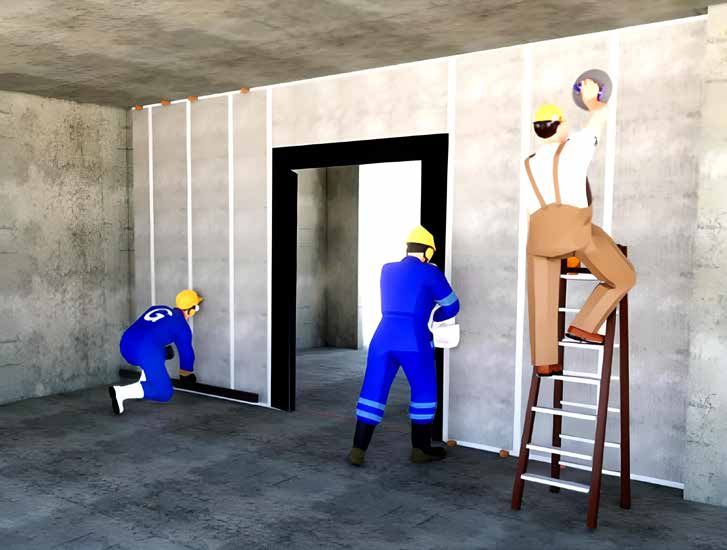
11. Install the lintel
Carry out the jointing of formwork, adding pillars, and pouring concrete
Control the size of the waiting box, in terms of height and plumbness.
After concrete pouring, wait 48 hours before proceeding to install the AAC liner on the door.
Measure and cut the lintel to be installed according to the size of the door.
Position and place the steel plate connecting the lintel to the installed wall.
Workers lift both ends of the lintel, put it in the correct position, align it, and check the plumbness of the lintel. Apply grout to the position of the connecting steel plate.
Finish the circuit of the slots of the panels.
Hand over to the MEP team to install wall pipes after 72 hours of completion.
Note: The MEP must comply with chisel cutting to avoid affecting the quality of the wall panels.
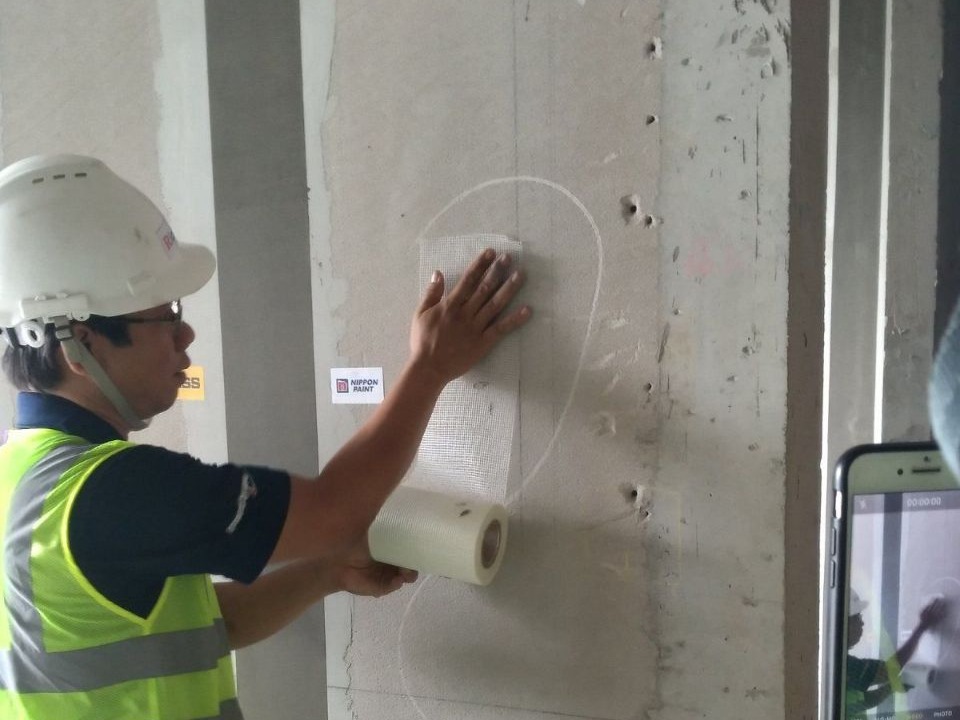
12. Apply surface finishing
Finishing slots, circuits and connections
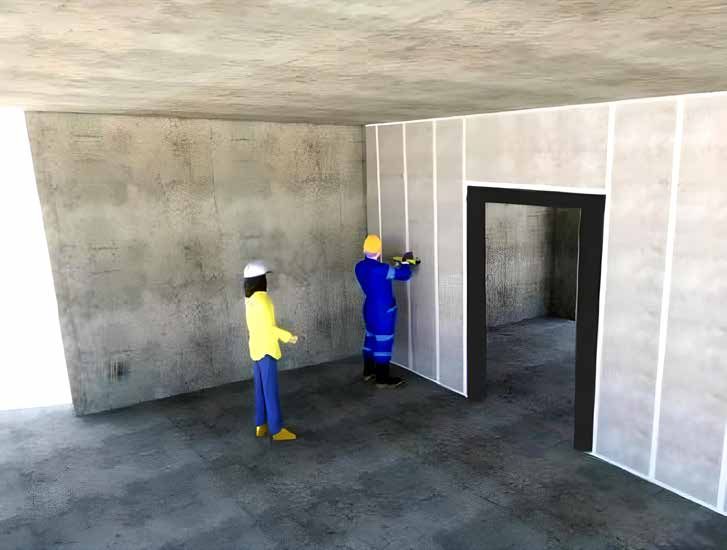
12. Internal inspection and acceptance
Check the flatness, plumbness and contiguous sections between panels. Do internal inspection.
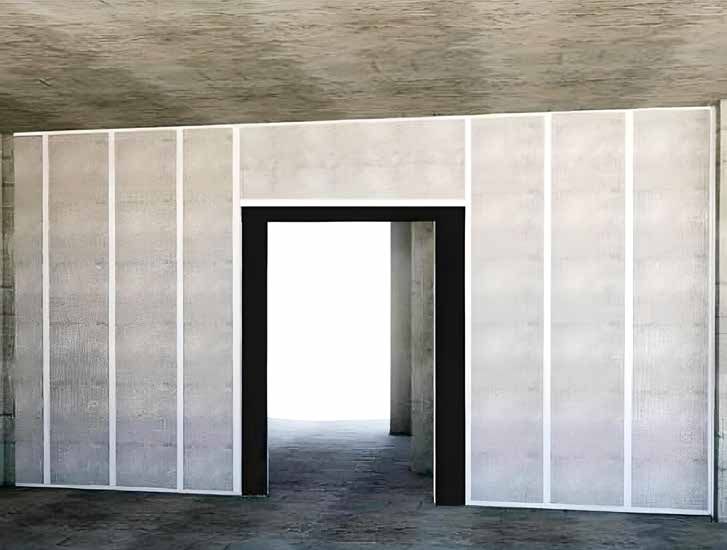
13. Handover
Invitation for supervision, inspection, acceptance, and transfer of the construction phase:
After completion, the contractor is responsible for inspecting to detect errors and cracks (if any) to promptly address them.
Steps on Installing AAC Wall Panel
Step 1: Before starting the construction, it is necessary to check the wall level, the connections are complete and secure.
Step 2: Install the first panel from the concrete wall to ensure the strength and stability of the wall panel and ensure the correct size of the last panel.
Step 3: Place the panels in position, adjust the wooden wedges reasonably.
Step 4: After the wall panel is installed, use a wooden wedge to fix it at the top and base of the panel.
Step 5: Use L-Shaped angles for the floor and Z-Shaped angles for the ceiling connections.
Step 6: Pump foam into the top slot of the wall (for each panel or the whole wall).
Step 7: Proceed to insert the base with a specialized mortar (for each panel or the whole wall).
Safety and Health
Blocktec AAC Wall Panel is a cement-based product that may cause skin irritation. It is recommended to wear gloves and suitable clothing when working with these products to prevent skin irritation. Masks and goggles must be worn during cutting and grooving of the wall.
Handling
Blocktec AAC Wall Panels are packed on pallets and transported to the construction site by road, river, and railway by specialized trucks and containers. Loading and unloading panels at the factory or at the site are done by specialized Forklifts or cranes with suitable mounting (using pallet ropes to load and unload can damage the product) to ensure that the product is not damaged, broken or cracked during transportation, loading and unloading. Trolleys can be used to transport goods at the construction site. Lifting techniques should be trained to reduce the risk of injury when handling the panel.
Storage
Products are stored in cool, flat places, 10cm above the ground, covered to avoid the influence of weather and climate. Pallets can be stacked when the construction site has all the necessary and safe conditions, meeting the requirements for height and flexibility. in loading and unloading, transporting to a construction site.
Get your quotation today!
Upgrade your construction to Blocktec AAC Wall System